
Adding the Sepia coloring
simonitro at 9:54PM, July 6, 2008
This is my way of adding the Sepia coloring effect using Adobe Photoshop.

(0 star average out of 0 votes)


Recently on The Burnhams, I've been using Sepia effects over my panels to give the old fashioned atmosphere. However, this short tutorial will show you how to make that effect the Simonitro way.
Example: 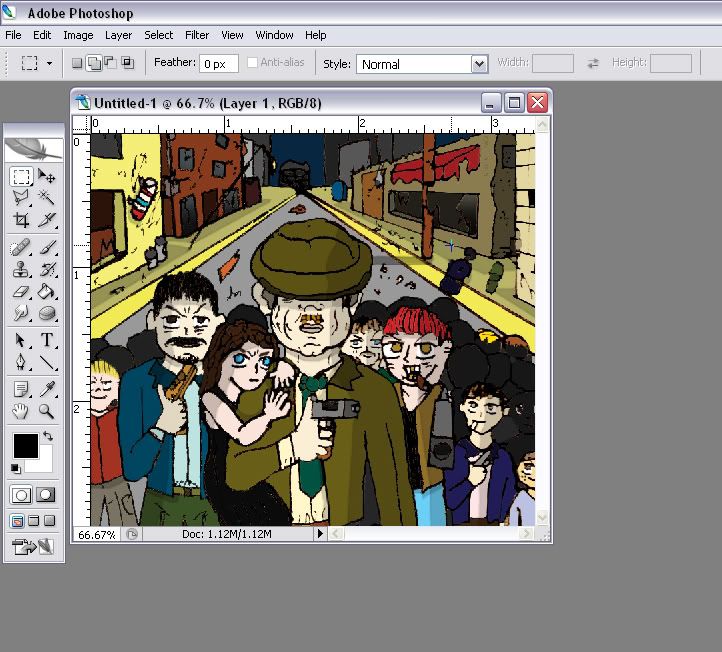
I'm going to use this picture for this tutorial.
1. After coloring the entire panel the way you want, go to Image > Adjustments > Variations… It should give you this window.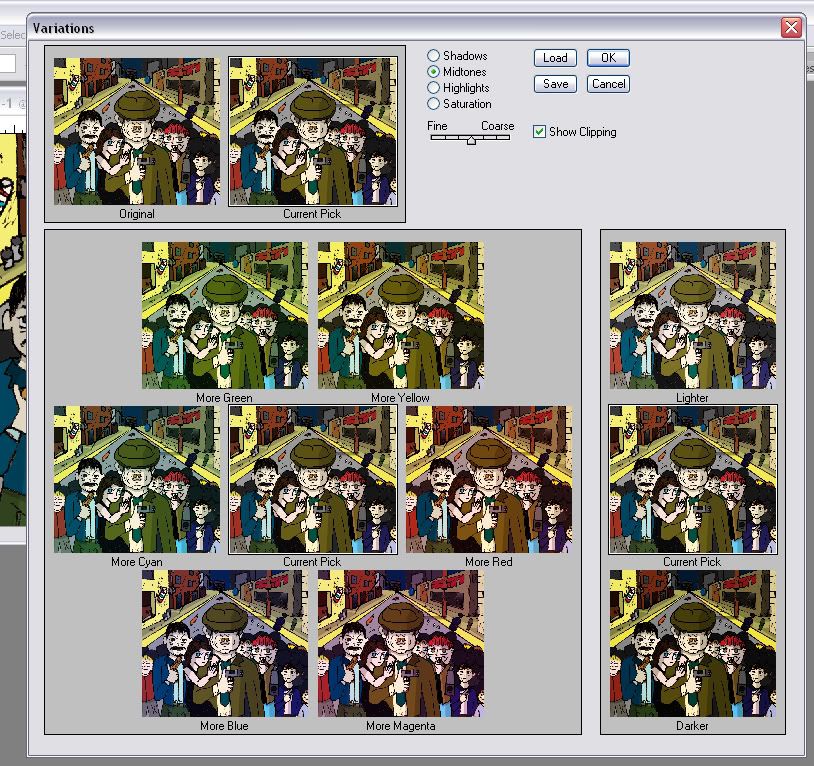
2. On the top panel, click on Original to return everything to normal if anything was added, just in case. Leave the Shades, Midtones, whatever the way they are… you won't be bothered with them. Now, on the middle section, you click on “More Red” twice and press okay on the top right. It should give you this effect, thus far.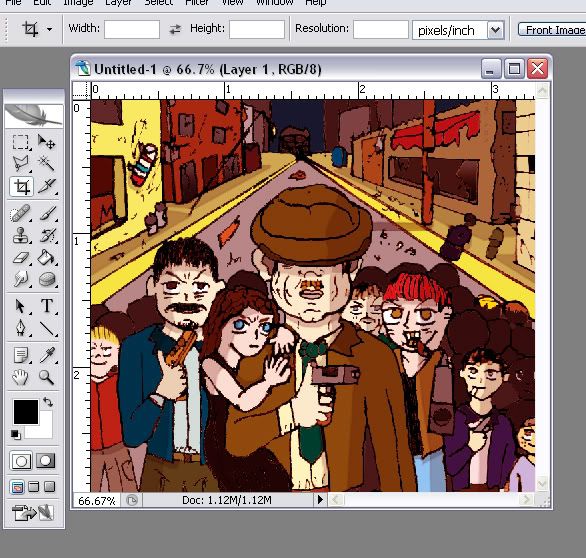
3. Next, we go Image > Adjustments > Hue/Saturation or click Ctrl+U, if you're a lazy bum. It would open this window. 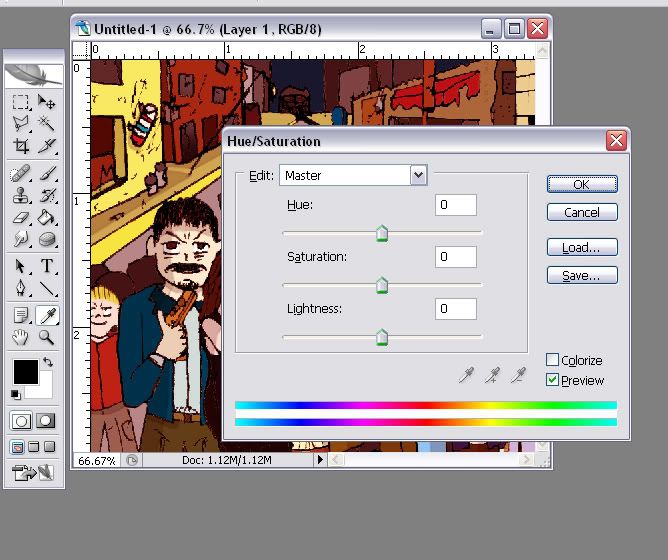
Keep it on Master, you won't be bothered with it. Hue keep it on 0, Saturation drop it down to -66 or lower but make sure it's still have some color, and Lightness drop it to -20 to give a darker effect; yet, you could lower it more but make sure not to be too dark. However, I'm going to keep it as such: Hue: 0, Saturation -66, Lightness -20 and press okay to give you this result.
4. Finally, you return back to Variations (see step 1), and click on the original to return it as default. The last step is click on “Add Red” once and press okay (if you'd click on “Add red” right away before clicking on the original, it would turn out redder than it should be, yet, that still could be your choice) and Voila! There you have it, sepia coloring the Simonitro way.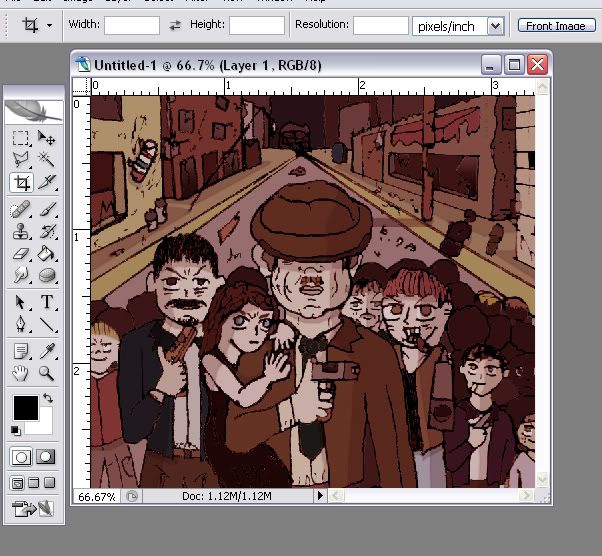
I hope you liked this tutorial. However, you can still experiement to make it better but those are some steps how I do or begin doing the Sepia coloring.